Last Thursday evening Ken and I played a game of the 1806 battle of Maida using Keith Flint’s work-in-progress rules Shadow of the Eagles. I have posted a brief account of the first test here.
This report will include more info about the rules though not a step-by-step account. I didn’t take enough notes for that. The rules do not specify the number of figures to be used. It does help if your units have four stands each, since a battalion in line rolls 4 dice when firing and in close combat, but as long as both sides are about the same it will work. If you are put off by my figures in single ranks, don’t worry. You can easily use double-ranked figures without any change to the rules. There are standard measurements intended for 20-30mm figures or any that have a battalion frontage of 6-12”. The smaller game is for battalions that have a frontage of 4-8”. 4 inches is the frontage of my battalions so we went with the smaller game. But if you have 10” wide battalions with perhaps 100 smaller figures, go with the standard game.
There is no figure removal; units take hits. They first become weakened (and less effective) and if not rallied, may well rout. Then they are removed from the table after bestowing morale hits on nearby friends. The first two hits cannot be rallied. For example, a regular unit routs after taking the 7th hit.
Players roll for initiative, the winner deciding to move first or second. The turn sequence follows.
First player moves
Second player moves
Second player fires
First player fires
Simultaneous close combat
Rally and then determine if any side has broken.
An army will break when half of the units have routed. What makes this different from many other games is that weakened units count as half a routed unit. So if you have a few routed units and a lot of weakened ones, you may be headed for the showers early.
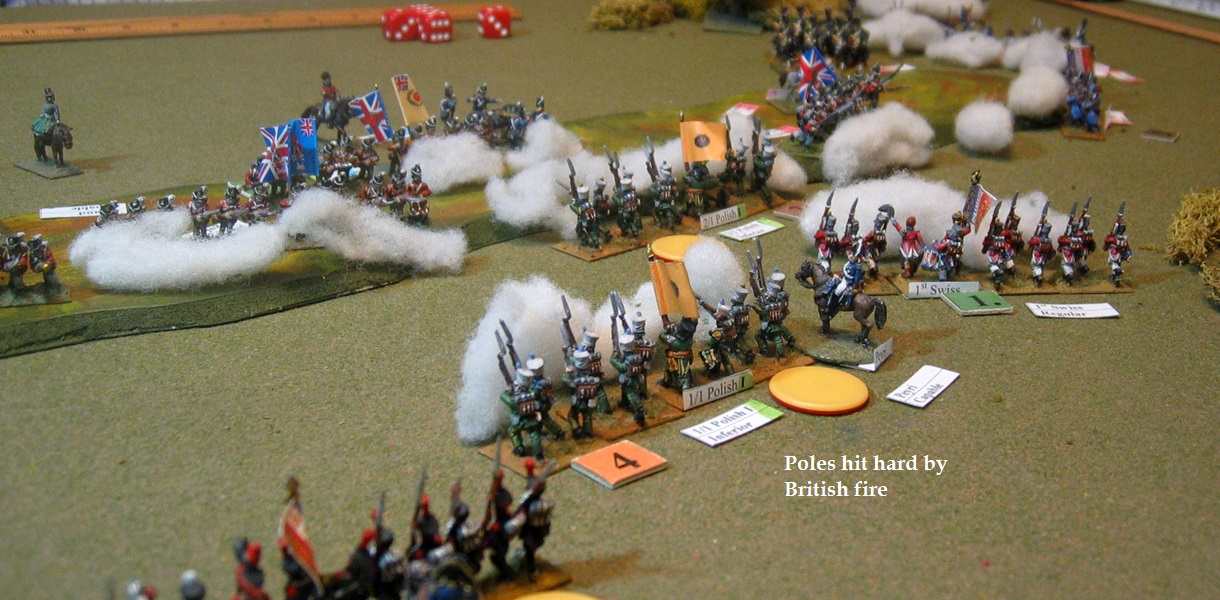
And now it’s time for the report. Ken wanted to play the British since his dad was born in Old Blighty. I took the French and came on in a frontal attack like Reynier did. Well, not quite as berserk. I did fire back rather than just rush with the bayonet as Compere’s brigade did in the actual fight. Yellow discs indicate weakened units, red discs indicate routed units, which are removed from the table after having their photos taken.


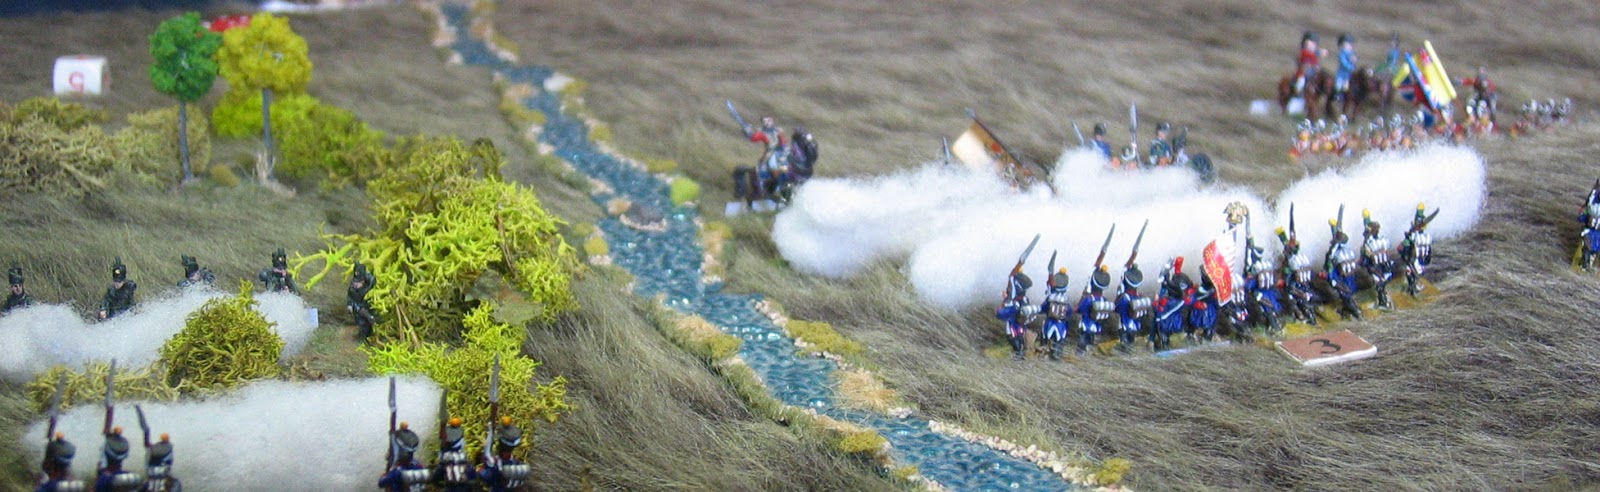
Brigadier Diogonet took the 23rd Legere and the Chasseurs a Cheval on a right hook. What looks like a road is the edge of table. Beyond here be routed units, game markers and monsters.


The 1/20th did show on turn 5. They missed firing on the French cavalry but instead poured withering fire into one of the Legere battalions from behind. When this regiment intervened in much the same way at the real battle, the French called it a day and fell back. But I pushed forward.


After editing the photos I realized the attack against the square was resolved in error. First, the light cavalry get a -1 modifier vs. heavy or line troops. And even if they beat the square on the first round, the square would hold and the combat be renewed until either the square broke or the attackers fell back. Even if the cavalry had rolled hot enough to break the square the British weren’t near their breakpoint of 5 units. The French had made theirs of 5.5 units.
We played 8 turns in 2 hours, 48 minutes. Not bad considering Ken had not played or read the rules before and required a lot of in-game explanation. The game came to a definite conclusion. I recall many games in my youth called on lack of time to cries of “in another two turns I’d have captured that chicken coop”.
I think the rules need a little tightening. I know my scenario needs some too. We both had a good time. Ken was surprised by his victory. All he saw was the cavalry behind him. I was keeping track of the growing pile of routed French units. Most unusual was having a historical battle play out much like the actual thing.